ICEINSPACE

|
Flashing LEDs for Tripod or Pier
Submitted: Wednesday, 16th September 2009 by John
I have been to a few star parties which have been very enjoyable, however imagine the following: You are at a Public Star Party and you have done a full drift alignment and got it near perfect with the intentions of doing some serious imaging at the end of the night after the general public have left. You are confronted by a few people who want to look through your scope. Being a blue-blooded astronomer and committed to the International Year of Astronomy, you let everyone look through your scope at the start of the evening . . . and then it happens - Somebody inadvertently kicks your pier (or tripod) and you realize that you have to go through the drift alignment process all over again when they have all gone home. Well, this has happened to me and so I would like to offer the following solution to anyone out there who has been faced with a similar situation. I decided to make some flashing LED’s to put around my pier to alert people where NOT to step. I know that it may seem like another “useless gadget” or “yuppie toy”, but those who have been in this situation may appreciate what I am on about. Here is a brief overview of how I made a cheap solution to this problem. Note: I have a portable pier with M16 bolts supporting the feet and I designed the LED mountings to fit over the top of the M16 bolt ends, but you can probably apply this same idea to a tripod if you can find something to mount the components on. Parts List
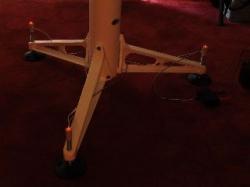
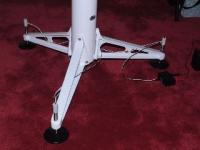
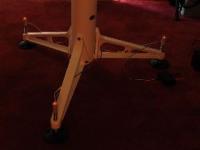
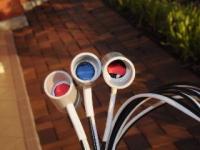
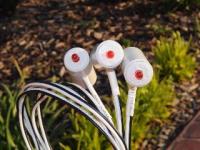
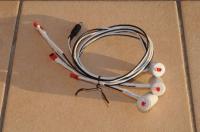
Here’s how it looks when it’s finished.
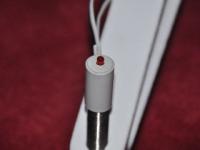
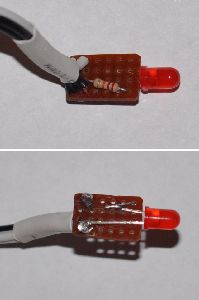
Note the use of heat shrink sleeving over the whole circuit board to prevent any short circuits from the metal bolts. And here’s how it connects up on the inside. I use a 12v DC power supply when 240V mains are available and a 12v field battery when I am out in the bush. The main 12v DC supply is provided via a 2.1mm 12v DC power plug as shown below, with interconnecting plugs & sockets to connect it all together. The small red interconnecting plugs & sockets came from a model shop. They are used for connecting Lithium Polymer (LiPo) batteries in radio control models.
This project took me about 2 days to build this in my spare time, but you will probably beat my times with no problems. I hope you find this of value, good luck with your project and most importantly, have fun! Article by John (glasseyes). Discuss this article on the IceInSpace Forum.  |
|
||||||||||||||||||||||||||||||||||||||||||||||||||